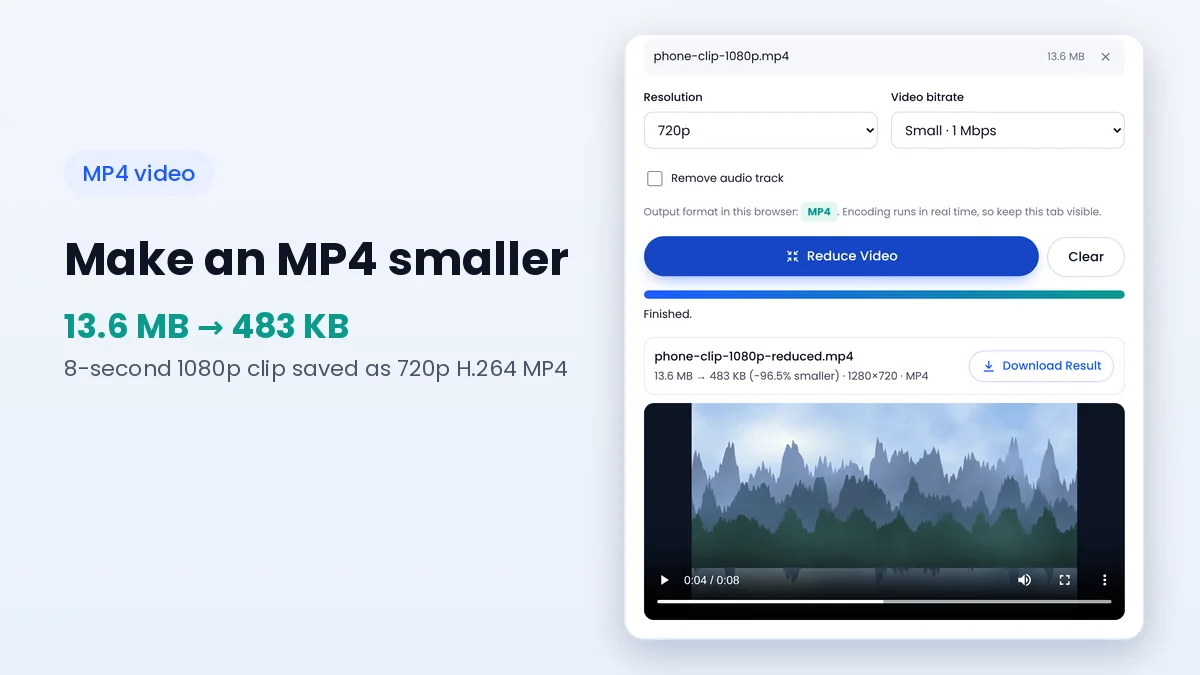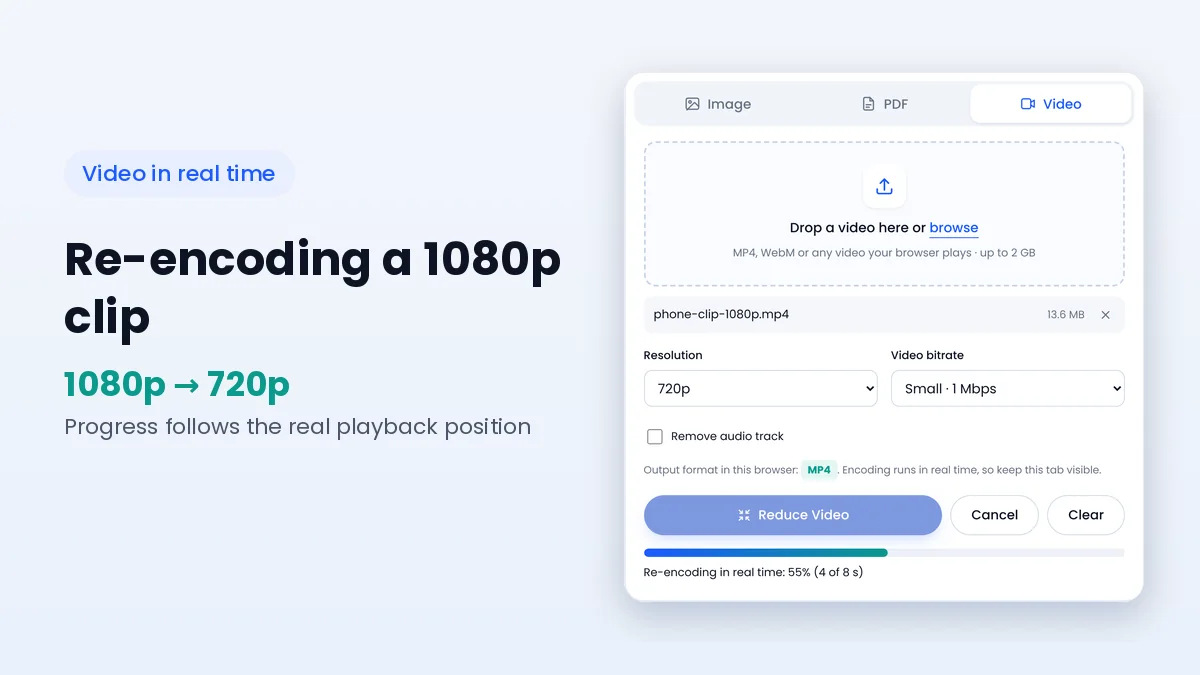
How Does a File Reducer Video Tool Compress Clips in the Browser?
Real-time re-encoding, resolution, bitrate and output formats explained in plain language.
Read guideFile reducer image settings give you four controls: output format, compression by quality or target size, and a maximum width or height. Each one affects the final size in a different way, and the best results usually come from combining two of them rather than pushing a single control to its limit.
This article walks through every option in the image compressor, explains what happens behind each one and suggests combinations for websites, forms, chat apps and design work.
The format decides how pixels are stored. “Same as original” keeps JPG as JPG, PNG as PNG and WebP as WebP. Choosing a different format converts the image during compression, which is often the single biggest saving for large PNG files.
| Format | Type | Transparency | Best for |
|---|---|---|---|
| JPG | Lossy | No (transparent areas become white) | Photos, scans, universal compatibility |
| WebP | Lossy | Yes | Websites, screenshots, graphics with photos |
| PNG | Lossless | Yes | Pixel-exact graphics; rarely smaller after re-saving |
PNG keeps every pixel exactly, so re-saving a PNG as PNG cannot remove detail. The browser's encoder may even produce a slightly larger file than a carefully optimised original. Use PNG output only when you need lossless pixels or when you are also resizing the image.
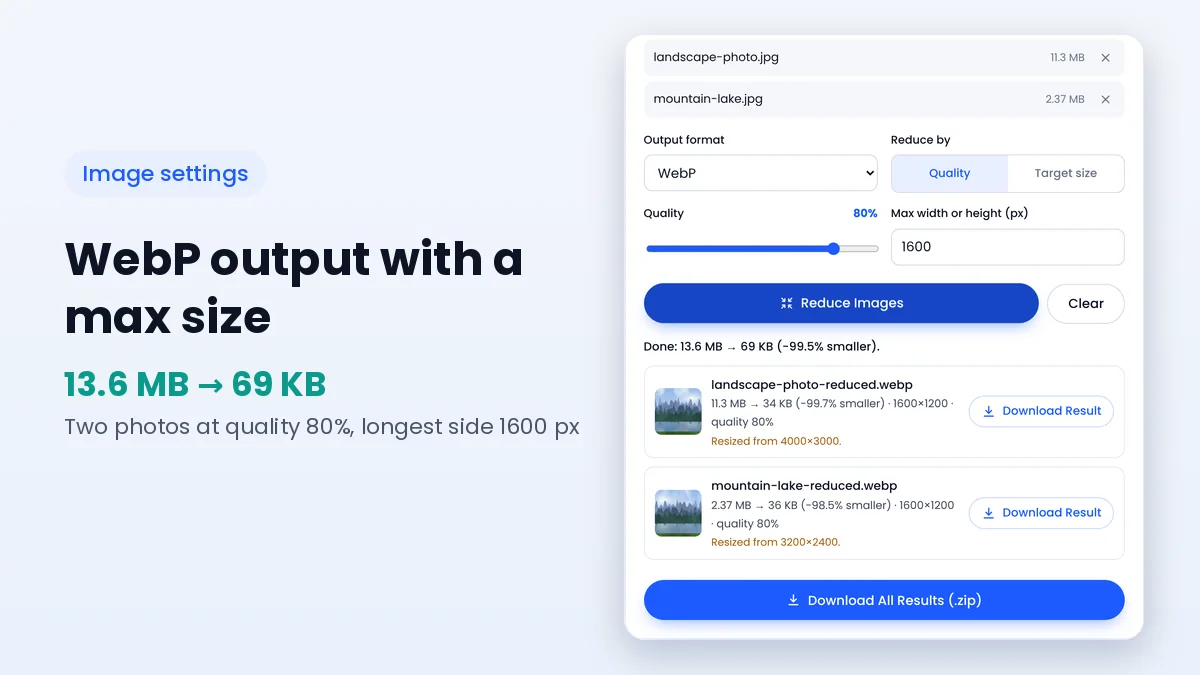
The slider runs from 10% to 95% and applies to JPG and WebP output. Higher values keep more detail and produce larger files, while lower values simplify textures and gradients. The default of 75% suits most photos shown on screens.
Quality is not a percentage of the original size. A photo at 75% quality may end up at 10% of its original bytes or at 60%, depending on its content and the quality it was first saved with.
Target size mode replaces the slider with a kilobyte field. The tool tries several quality values with a binary search and keeps the highest one that fits under your limit, which avoids the guesswork of moving the slider manually for each image.
If the lowest quality is still above the target, the picture is reduced in size by 15% per step until it fits. The result line reports the quality used, the final dimensions, and a note when resizing was needed or the limit could not be met.
This field limits the longest side of the image in pixels. A 4000 × 3000 photo with a limit of 1600 becomes 1600 × 1200, keeping its proportions. Images that are already smaller than the limit are not enlarged.
Resizing has a stronger effect than most people expect, because pixel count falls with the square of the scale. A photo reduced to half its width keeps only a quarter of its pixels, so it usually needs far fewer bytes at the same quality.
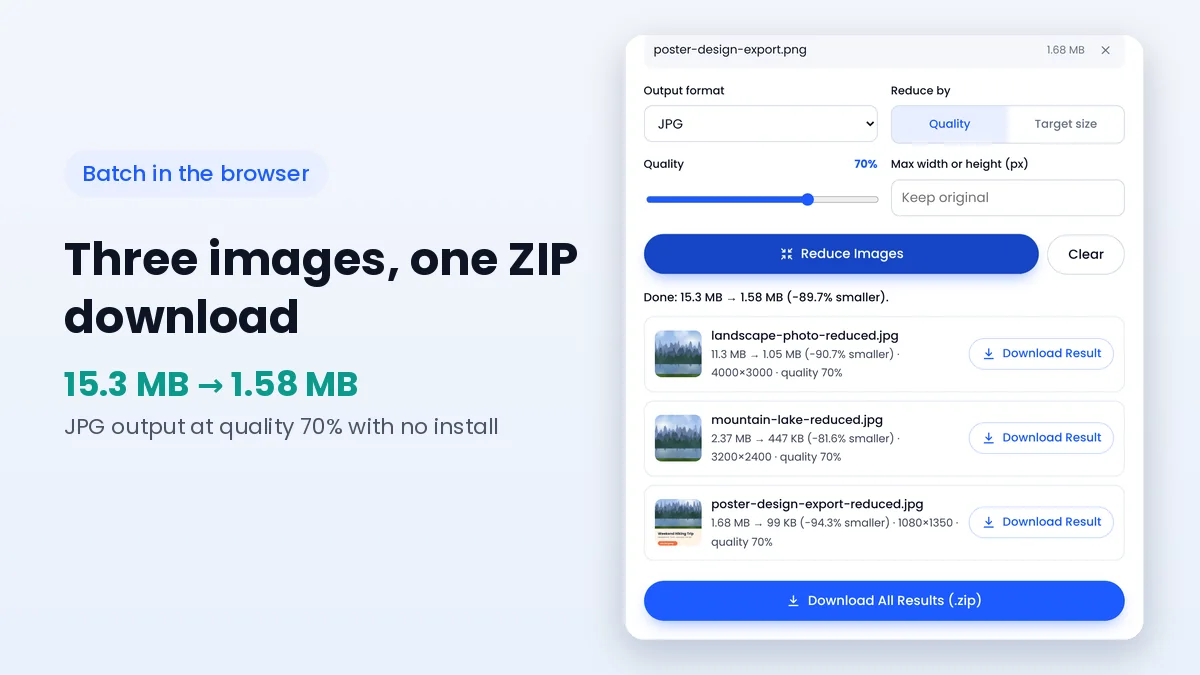
Up to 30 images can be processed in one run with the same settings. Each result lists its new size and dimensions with its own download button, and a Download All Results button bundles everything into a single ZIP archive when more than one image succeeds.
Because every image is redrawn on a canvas, EXIF metadata such as camera model, capture time and GPS position is not copied into the result. Orientation is applied to the pixels, so photos still appear the right way up.
When a transparent PNG or WebP is saved as JPG, transparent areas are filled with white, since JPG has no transparency channel. Choose WebP output to keep transparent backgrounds while still compressing the image.
| Destination | Format | Quality or target | Max side |
|---|---|---|---|
| Blog or website | WebP | Quality 75–80% | 1400–2000 px |
| Form with a KB limit | JPG | Target size just under the limit | Leave empty |
| Chat or social app | JPG | Quality 70% | 1600 px |
| Logo or icon | PNG or WebP | Quality 90% for WebP | Final display size |
Each processed image gets a result line with the original size, the new size, the percentage saved, the final dimensions and the quality used for lossy formats. These numbers make it easy to compare settings: run a batch at 80%, note the totals, then try 70% and keep whichever result looks good at the smallest size.
Results that end up larger than the original are highlighted with a short suggestion, and images that needed resizing to meet a target size mention their original dimensions. Nothing is saved automatically, so you can adjust settings and run the batch again as often as you like.
JPG and PNG output work in every modern browser. WebP output depends on the browser's encoder: current Chrome, Edge and Firefox versions support it, and the option is disabled with a short note when it is unavailable, so you never receive a file in a format you did not choose.
Pick the largest size at which the image will actually be displayed, then add a little headroom for high-density screens. A blog image shown 700 pixels wide looks sharp on most displays at 1400 px, while a thumbnail shown at 300 pixels rarely needs more than 600 px.
For photos, WebP usually produces the smallest files at similar visual quality, followed closely by JPG. PNG is much larger for photographic content.
Your browser cannot encode WebP images. Choose JPG, or use a recent version of Chrome, Edge or Firefox.
No. Images smaller than the limit keep their original dimensions.
Each run uses one set of settings. Process images in separate batches when they need different formats or limits.
File reducer image settings work best together: pick the format that suits the content, set a sensible maximum size, and then fine-tune with quality or a target in kilobytes. That approach keeps images sharp at their real display size and removes the bytes nobody will ever see.
Put these combinations to work in the image compressor, and read the JPG size guide for more detail on quality ranges and common mistakes.
Keep learning how to make images, PDFs and videos smaller.
Real-time re-encoding, resolution, bitrate and output formats explained in plain language.
Read guidePrivacy, speed, batch work and format support compared for browser tools and installed programs.
Read guideEstimate the final size from bitrate and length, then pick settings that fit your limit.
Read guide